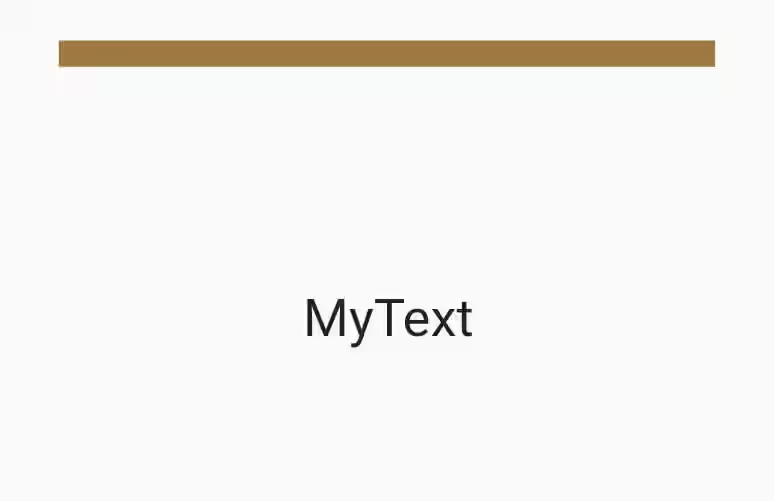
This tutorial shows you how to use Flutter's BoxBorder which is used as the decoration property of Container widget.
In Flutter, the base class for creating shape outlines is ShapeBorder. There are some classes that extends it, which include StadiumBorder, BeveledRectangleBorder, ContinuousRectangleBorder, RoundedRectangleBorder, CircleBorder, and BoxBorder. This tutorial only covers about BoxBorder.
There are two classes knwon to extend BoxBorder: Box and BoxDirectional. Below are some examples how to use them.
Using Border
A Border consists of four sides: top, bottom, left, and right. Each side is represented by a BorderSide. There are some ways for creating a Border, from using the constructor, using factory constructor, as well as using static methods.
Using Border Constructor
Here is the Border constructor.
  const Border({
    this.top = BorderSide.none,
    this.right = BorderSide.none,
    this.bottom = BorderSide.none,
    this.left = BorderSide.none,
  })
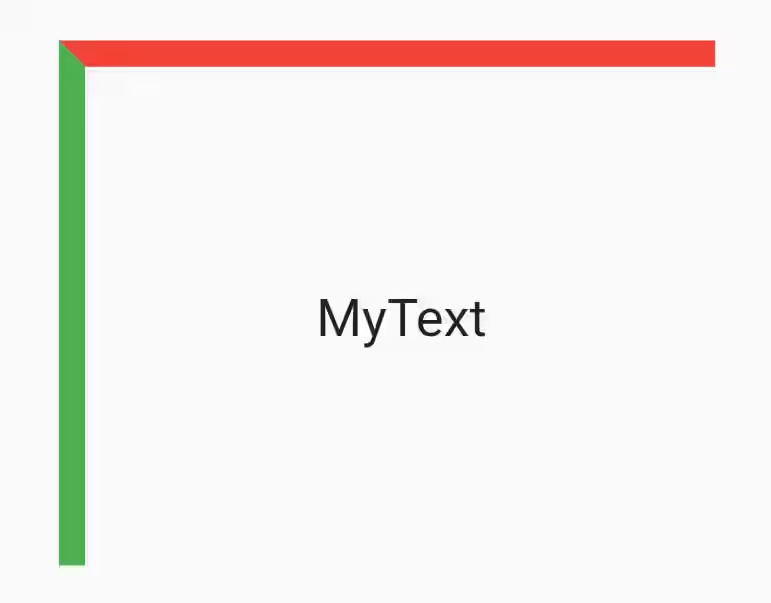
The below example only sets the border for top and left sides which results to no border on the other sides.
  Container(
    width: 250,
    height: 200,
    decoration: BoxDecoration(
      border: Border(
          top: BorderSide(color: Colors.red, width: 10, style: BorderStyle.solid),
          left: BorderSide(color: Colors.green, width: 10, style: BorderStyle.solid),
      ),
    ),
    child: Center(
        child: Text("MyText", style: TextStyle(fontSize: 20))
    ),
  )
Output:
Using Border.all
Border.all can be used to create a border with all sides have the same color and width. Below is the signature of the factory constructor.
  factory Border.all({
    Color color = const Color(0xFF000000),
    double width = 1.0,
    BorderStyle style = BorderStyle.solid,
  })
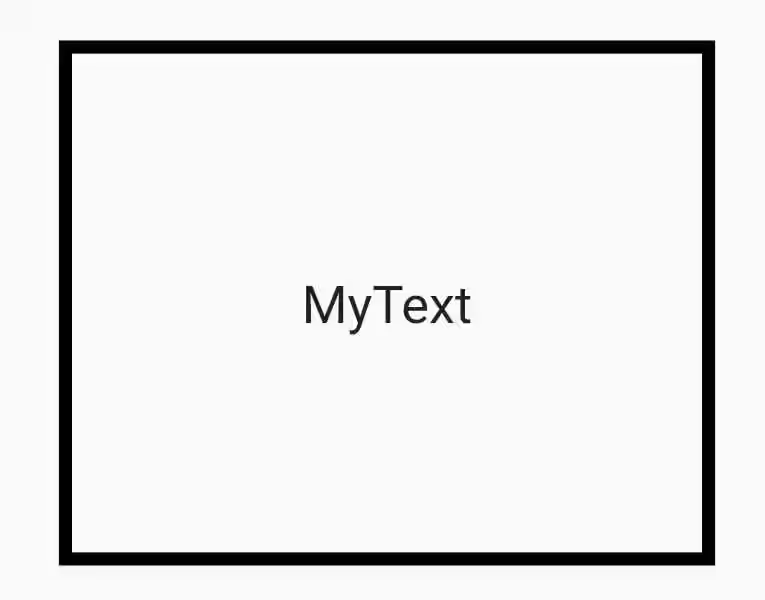
By default, the width is 1.0 pixel which looks very thin. To make it thicker, you can change the width property.
  Container(
    width: 250,
    height: 200,
    decoration: BoxDecoration(
      border: Border.all(
        width: 5,
      ),
    ),
    child: Center(
        child: Text("MyText", style: TextStyle(fontSize: 20))
    ),
  )
Output:
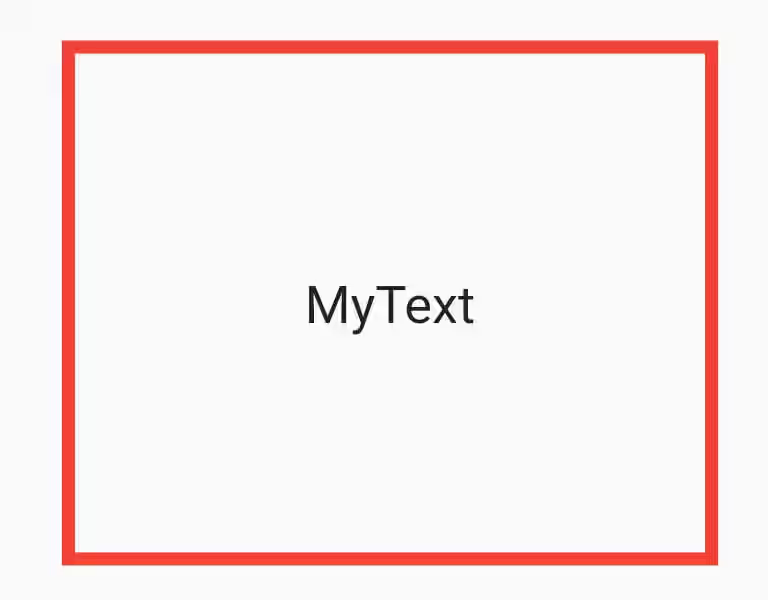
You can also change the color by passing color
  Container(
    width: 250,
    height: 200,
    decoration: BoxDecoration(
      border: Border.all(
        color: Colors.red,
        width: 5,
      ),
    ),
    child: Center(
        child: Text("MyText", style: TextStyle(fontSize: 20))
    ),
  )
Output:
For style property, currently there are only two supported values: BorderStyle.solid (the default) and BorderStyle.none. Using the later makes the border invisible.
Using Border.fromBorderSide
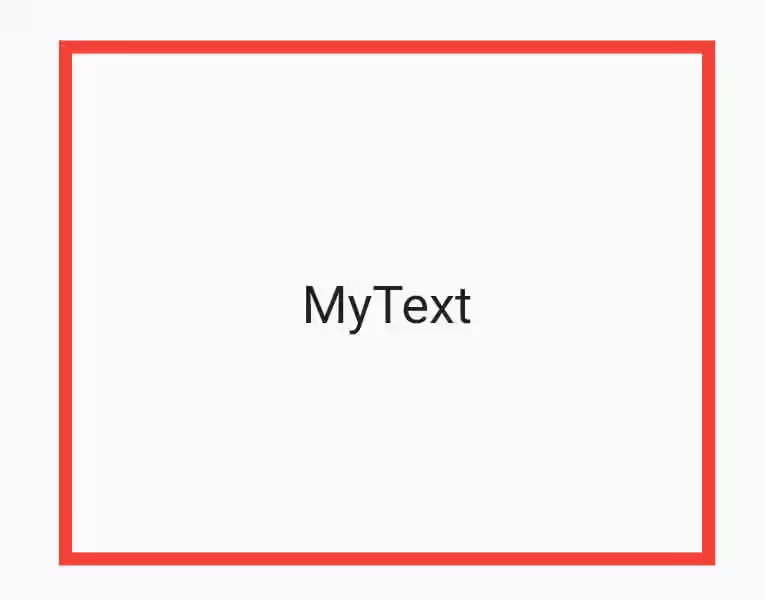
Border.fromBorderSide is used to create identical borers on each side. You only need to pass a border side, then it will be applied to all sides.
const Border.fromBorderSide(BorderSide side)Below is an example of how to use it.
  Container(
    width: 250,
    height: 200,
    decoration: BoxDecoration(
      border: Border.fromBorderSide(BorderSide(color: Colors.red, width: 5)),
    ),
    child: Center(
        child: Text("MyText", style: TextStyle(fontSize: 20))
    ),
  )
Output:
Using Border.merge
Border.merge is used to merge two borders.
static Border merge(Border a, Border b)To check whether two borders can be merged, first it checks that both are not null. If one of the borders doesn't have style (BorderStyle.none) and has a width of 0, they can be merged. Otherwise, it checks if both borders have same color and style.
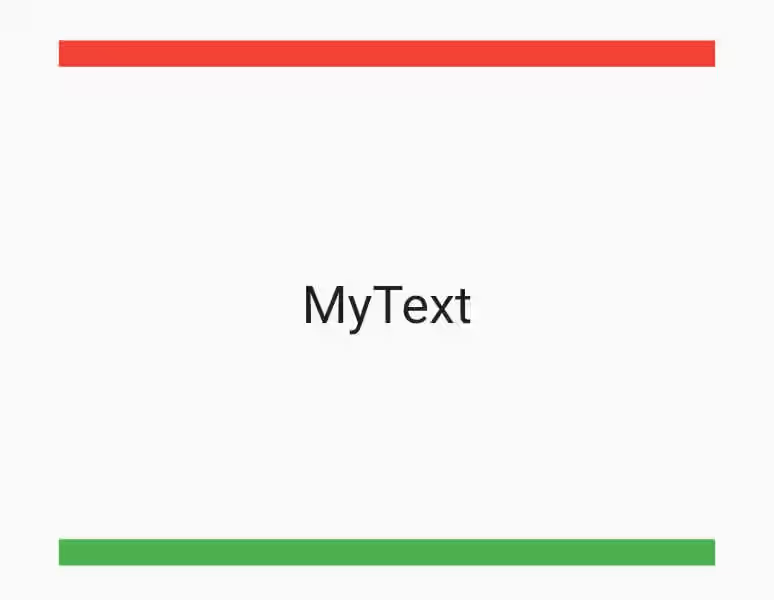
The first example below works because the two borders are on the different sides.
  Container(
    width: 250,
    height: 200,
    decoration: BoxDecoration(
      border: Border.merge(
          new Border(top: BorderSide(color: Colors.red, width: 10)),
          new Border(bottom: BorderSide(color: Colors.green, width: 10)),
      )
    ),
    child: Center(
        child: Text("MyText", style: TextStyle(fontSize: 20))
    ),
  )
Output:
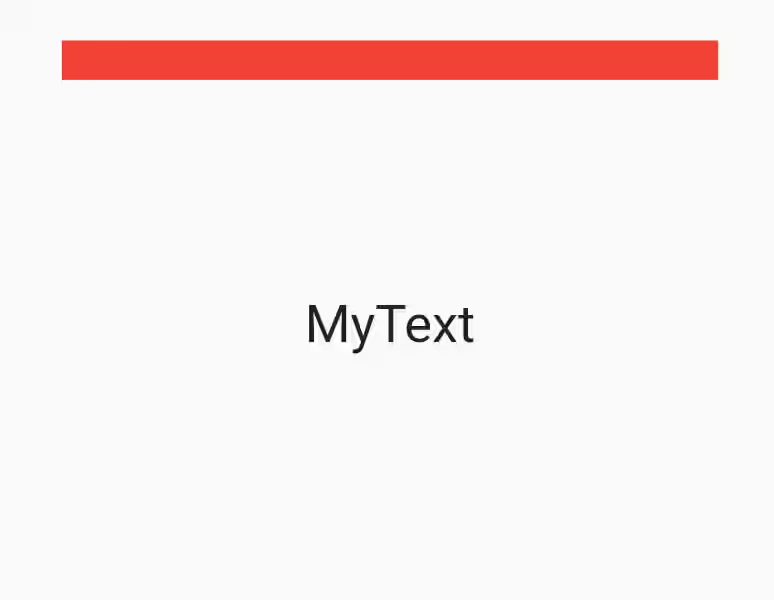
The second example also works because although the borders are on the same side, the color and the style (using default style) are the same. The width of the border side is the sum of both borders' width for that side.
  Container(
    width: 250,
    height: 200,
    decoration: BoxDecoration(
      border: Border.merge(
          new Border(top: BorderSide(color: Colors.red, width: 10)),
          new Border(top: BorderSide(color: Colors.red, width: 10)),
      )
    ),
    child: Center(
        child: Text("MyText", style: TextStyle(fontSize: 20))
    ),
  )
Output:
The below example will throw Failed assertion because it can't decide which color to be used if you define two borders with same position but different color.
  Container(
    width: 250,
    height: 200,
    decoration: BoxDecoration(
      border: Border.merge(
          new Border(top: BorderSide(color: Colors.red, width: 10)),
          new Border(top: BorderSide(color: Colors.green, width: 10))
      )
    ),
    child: Center(
        child: Text("MyText", style: TextStyle(fontSize: 20))
    ),
  )
If you need to do so, consider using Border.lerp which will be explained below
Using Border.lerp
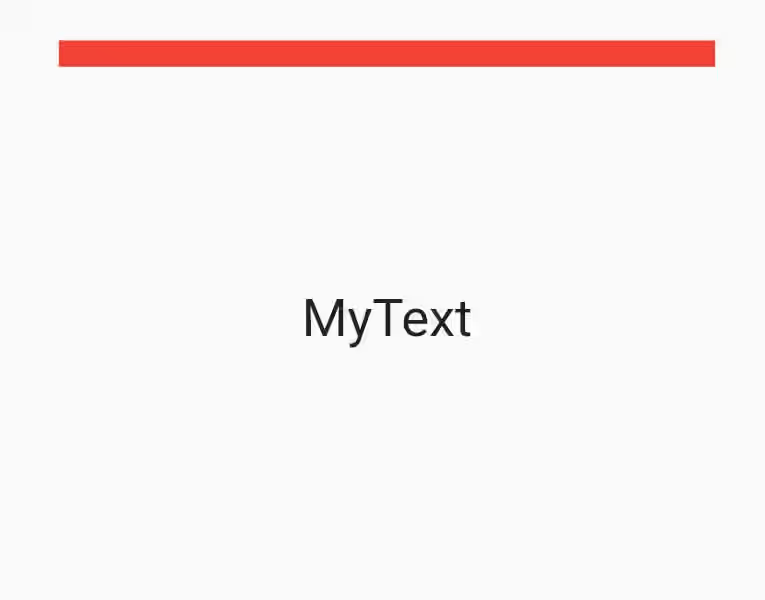
Border.lerp is used to linearly interpolate two borders. It works by interpolating the same side of the two borders one by one, calculating the color, style, and width for each side.
static Border lerp(Border a, Border b, double t)It's a static method with three required parameters. The first two are the borders to be interpolated. While the last parameter t is used to set which which border is more dominant in the output. If t value is 0, it will completely use border a. If t value is 1, it will completely use border b. If the value is closer to 0 dan 1, the resulting border will get more characteristics (color, style, width) from border a and so on.
  Container(
    width: 250,
    height: 200,
    decoration: BoxDecoration(
      border: Border.lerp(
          Border(top: BorderSide(color: Colors.red, width: 10, style: BorderStyle.solid)),
          Border(top: BorderSide(color: Colors.green, width: 1, style: BorderStyle.none)),
          0,
      )
    ),
    child: Center(
        child: Text("MyText", style: TextStyle(fontSize: 20))
    ),
  )
Output:
  Container(
    width: 250,
    height: 200,
    decoration: BoxDecoration(
      border: Border.lerp(
          Border(top: BorderSide(color: Colors.red, width: 10, style: BorderStyle.solid)),
          Border(top: BorderSide(color: Colors.green, width: 1, style: BorderStyle.none)),
          1,
      )
    ),
    child: Center(
        child: Text("MyText", style: TextStyle(fontSize: 20))
    ),
  )
Output:
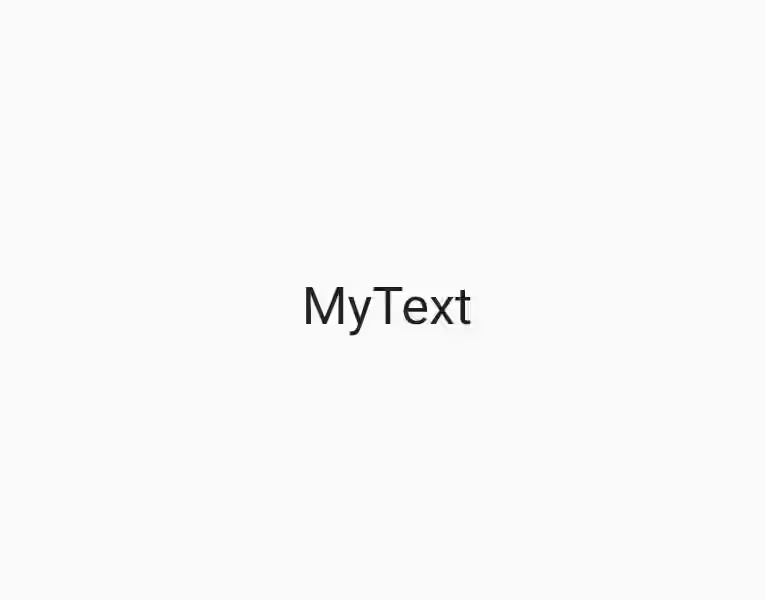
  Container(
    width: 250,
    height: 200,
    decoration: BoxDecoration(
      border: Border.lerp(
          Border(top: BorderSide(color: Colors.red, width: 10, style: BorderStyle.solid)),
          Border(top: BorderSide(color: Colors.green, width: 1, style: BorderStyle.none)),
          0.5,
      )
    ),
    child: Center(
        child: Text("MyText", style: TextStyle(fontSize: 20))
    ),
  )
Output:
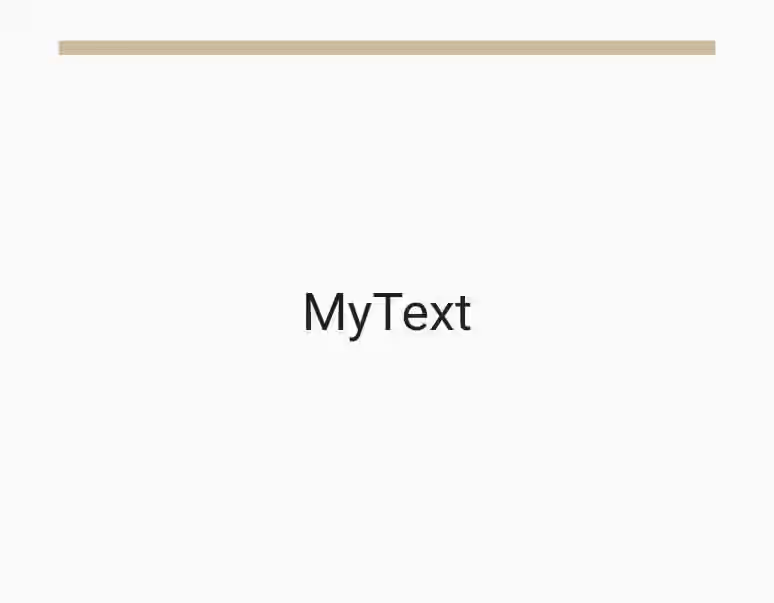
  Container(
    width: 250,
    height: 200,
    decoration: BoxDecoration(
      border: Border.lerp(
          Border(top: BorderSide(color: Colors.red, width: 10, style: BorderStyle.solid)),
          Border(top: BorderSide(color: Colors.green, width: 1, style: BorderStyle.none)),
          0.1,
      )
    ),
    child: Center(
        child: Text("MyText", style: TextStyle(fontSize: 20))
    ),
  )
Using BorderDirectional
BorderDirectional also consists of four sides, but the lateral sides are affected by reading direction. It only has constructor, merge, and lerp methods.
To make it more obvious, the below examples use right-to-left text direction.
Using BorderDirectional constructor
The constructor is similar to Border's, but instead of left and right sides, it has start and end sides.
  const BorderDirectional({
    this.top = BorderSide.none,
    this.start = BorderSide.none,
    this.end = BorderSide.none,
    this.bottom = BorderSide.none,
  })
Directionality(
textDirection: TextDirection.rtl,
child: Container(
width: 250,
height: 200,
decoration: BoxDecoration(
border: BorderDirectional(
start: BorderSide(color: Colors.red, width: 10, style: BorderStyle.solid),
top: BorderSide(color: Colors.green, width: 10, style: BorderStyle.solid),
),
),
child: Center(
child: Text("MyText", style: TextStyle(fontSize: 20))
),
),
)Output:
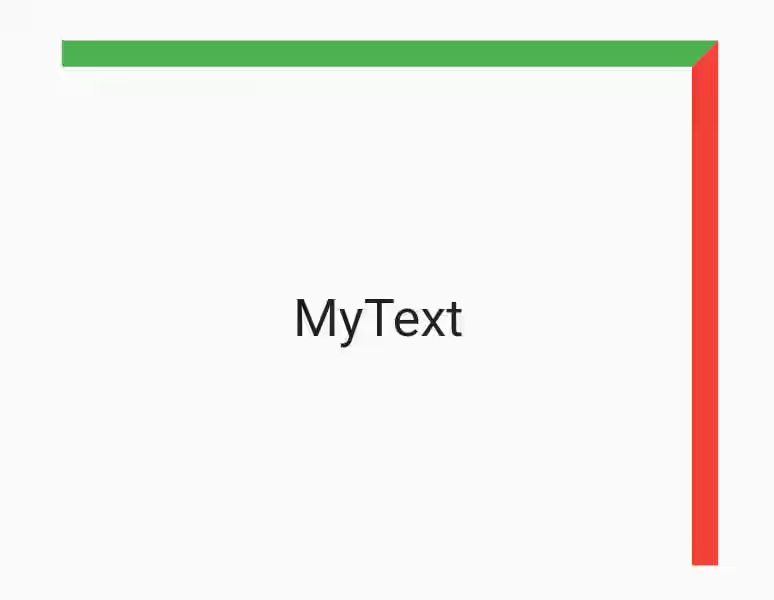
Using BorderDirectional.merge
The behavior of BorderDirectional.merge is similar to Border.merge. It can only merge two borders on the same side if the have same style and color.
static BorderDirectional merge(BorderDirectional a, BorderDirectional b) Directionality(
textDirection: TextDirection.rtl,
child: Container(
width: 250,
height: 200,
decoration: BoxDecoration(
border: BorderDirectional.merge(
BorderDirectional(top: BorderSide(color: Colors.red, width: 10, style: BorderStyle.solid)),
BorderDirectional(top: BorderSide(color: Colors.red, width: 5, style: BorderStyle.solid))
),
),
child: Center(
child: Text("MyText", style: TextStyle(fontSize: 20))
),
),
)Output:
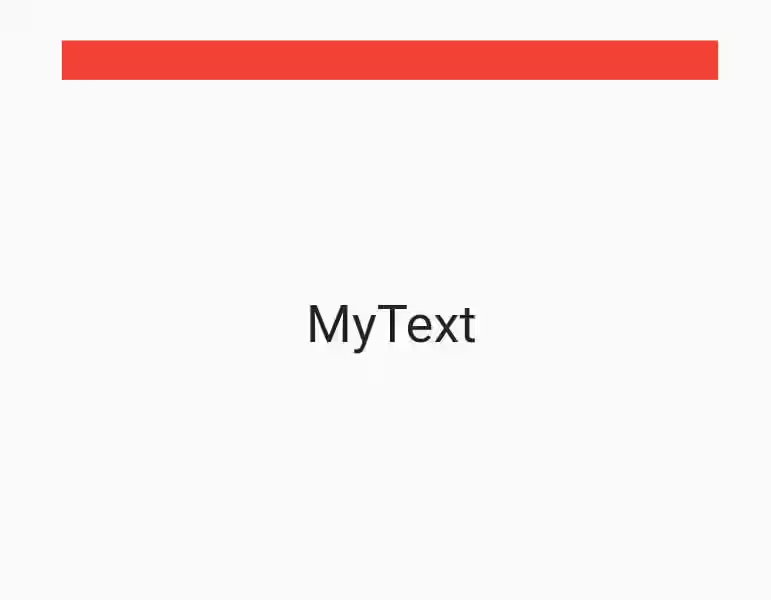
Using BorderDirectional.lerp
Below is an example for lerp. The behavior is similar with Border.lerp.
static BorderDirectional lerp(BorderDirectional a, BorderDirectional b, double t) Directionality(
textDirection: TextDirection.rtl,
child: Container(
width: 250,
height: 200,
decoration: BoxDecoration(
border: BorderDirectional.lerp(
BorderDirectional(top: BorderSide(color: Colors.red, width: 10, style: BorderStyle.solid)),
BorderDirectional(top: BorderSide(color: Colors.green, width: 10, style: BorderStyle.solid)),
0.5
),
),
child: Center(
child: Text("MyText", style: TextStyle(fontSize: 20))
),
),
)Output:
